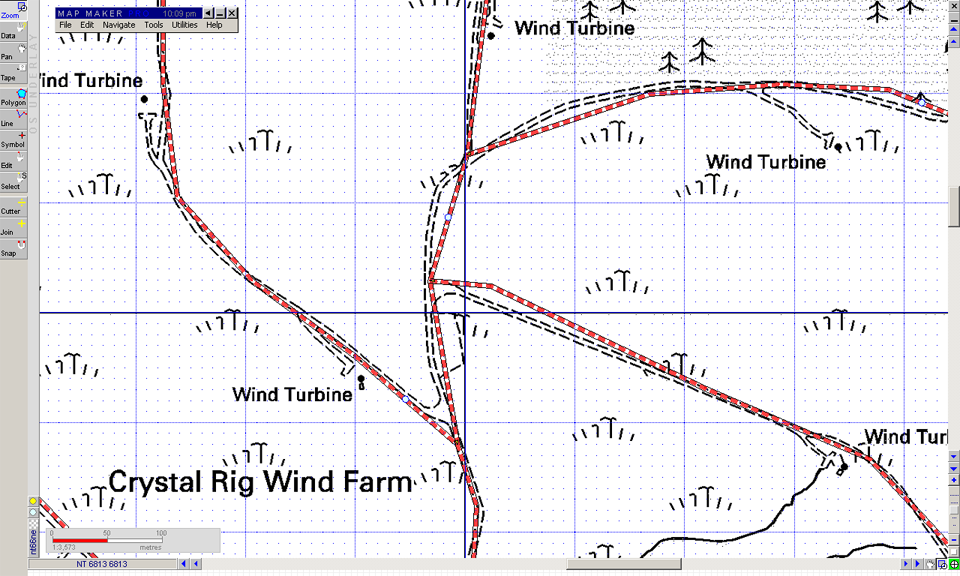
If you draw lines at the scale of your map and take good care, you should always get a better result that in the illustration, which is badly drawn so that we can learn to use the edit tools.
Map Maker Pro offers a range of on screen editing options as well as a host of automation tools. Some of the editing options first:
- Simple Editing CTRL+E – you can move polygon boundaries, including common ones, create new vertices (select line and drag), delete vertices (click & delete).
- Double click a line to edit a single object – it will go blue and each vertex will be highlighted in red and a bounding box shown.
- The start and finish points can be dragged, but first up we are are going to select a middle vertex and drag it.
- Create new vertex by selecting a point on the line that you want to drag, click to create a new vertex and just drag it into position.
- You can create as many vertices as you need to smooth a curved corner or work around complex features / boundaries.
- Delete a vertex by holding the edit pointer over it and clicking delete.
Remember Simple Edit allows you to move common boundaries in unison, which is very handy.
Sometimes you’ll find it easier to delete a line segment and redraw it. If you create your line segments in a structured way editing each segment is easier. For example, it can be a good idea to stop at junctions and restart the segment and keep each segment fairly short.
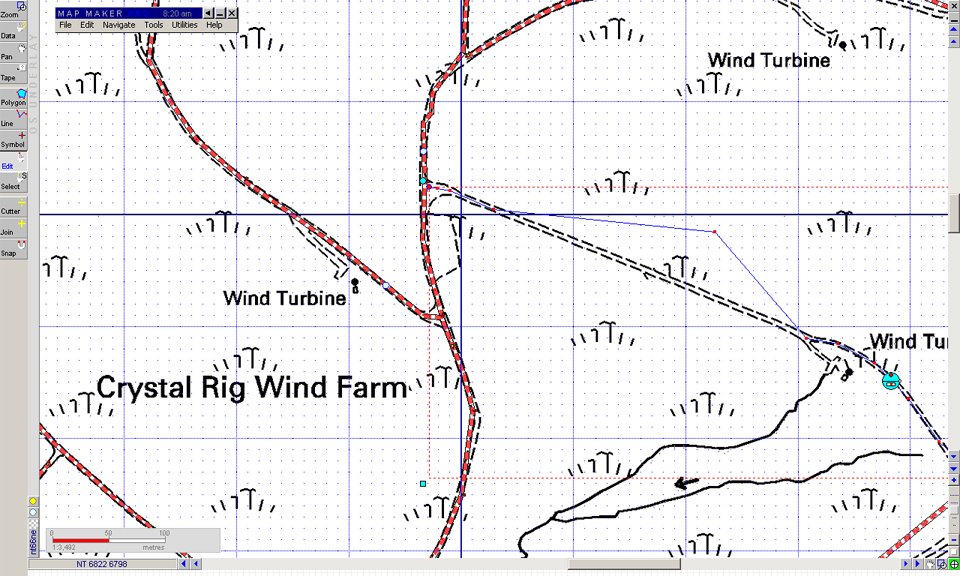
As you become confident, there is nothing to stop you working on longer segments and panning the screen while you edit. When you are done, your new spaghetti should look more like this.
Before we move it is worth introducing a new tool, the Selection Manager. which has a wider range of automation Actions.