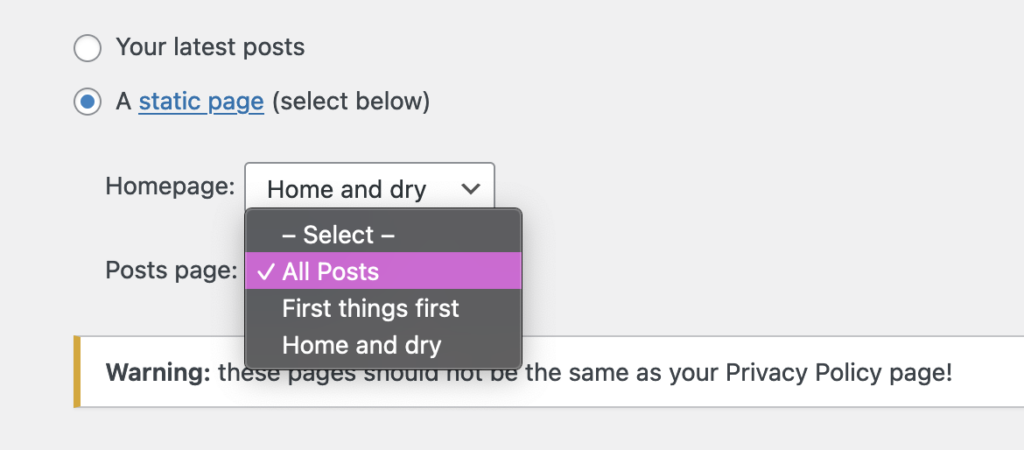
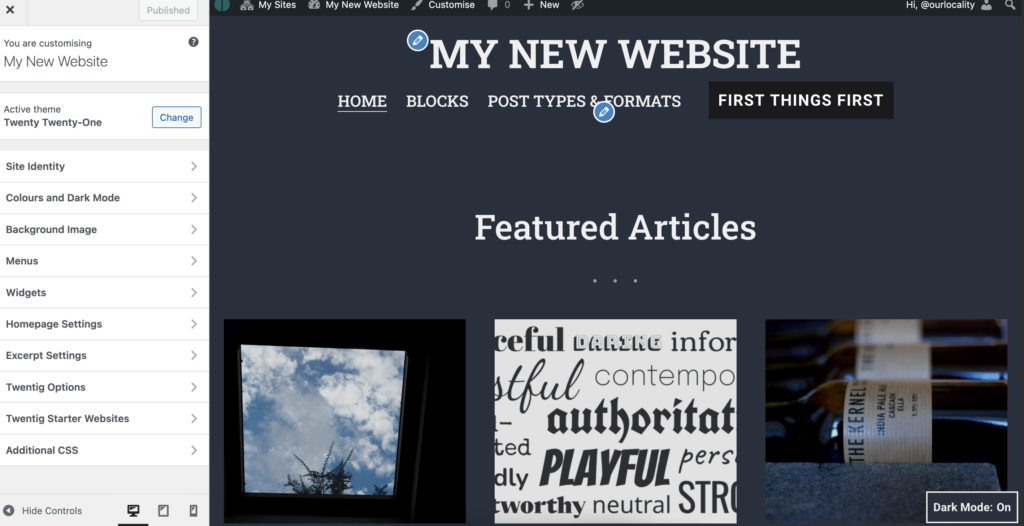
To create a page or a post you will need to be logged in – if you can see the black bar at the top of the screen you are logged in. From there choose New > Page.
A static page has a title and an area for the content. You can configure various Page settings, such as the date, the visibility and lots more from the right hand panel.
Note too that you can arrange pages in a hierarchy (perhaps by section or by theme). This is very helpful to reorganise larger numbers of pages into subsections. Use the quick edit option to speed things up.

A featured image is also advisable. Most templates support the featured image today, but not all will have more than one page or post template. Page and post templates are handy variations of the page layout that may be useful in different settings – e.g. you want to create a landing page or front page.
Add a paragraph and then add text In the content area. Here almost anything goes images, columns, tables, galleries, links to other trusted websites, video etc. Also you can trim a post with a Read More style link.
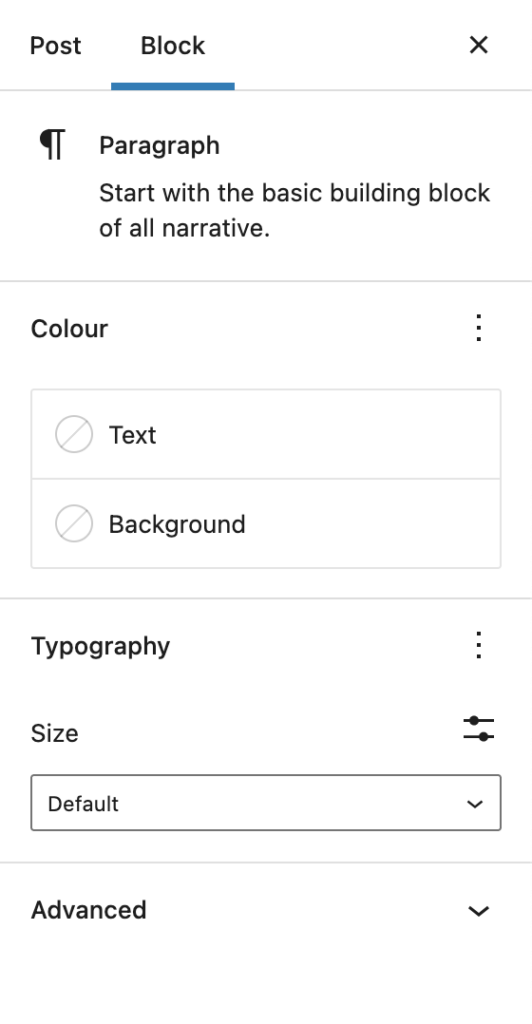
Some config options are in the block tab, in the right hand panel. The paragraph block has only a few simple settings. Others are more complex. Additional block management options – centering, linking and common formatting appear in a locked panel above the content or sometimes floating next to the block – we like it locked (see below):

Posts are pretty much the same, but unlike pages you do need to categorise posts to make best use of the built in classification tools. If you want to link to or create menus relating to a topic all of this needs a little bit of thought. If you don’t have a taxonomy at the kick off and you post regularly, then one will emerge as you start publishing your news, blog or whatever. Hash tags are not compulsory but can help to link to similar articles if you have a regular blog covering a range of topics. Hash tags are designed to help the reader find similar articles. If you fill them up for the sake of it, you will have an index (which you can show off in a word cloud), but it may be more confusing than helpful.

If you are using your your blog as a social media style stream (short posts, clips and links) you can also use a range of post formats.
Posts and pages feature the ability to schedule publication, or even publish in the past (especially handy if you are copying from a previous website and want to preserve the chronology, or re-create a diary or fake or just hide an update the past.)
But where do posts and pages appear? Posts and the posts page are dealt with in this article.
As for pages, in a typical default template (pre 6.0 and pre full site editing) you could get top level pages to magically appear in the menu or create the page stubs from the customizer. In reality these functions only help at the very early stages of a website development project, perhaps when sketching out the broa contours of your site.
It is more likely that you will want to arrange the menu in a bespoke fashion, perhaps hierarchically as drop downs. This doesn’t require you to arrange the pages themselves hierarchically, but it may help to follow the same arrangement.
Rookie errors:-
- Creating a static News page and constantly re-editing the static page, perhaps even deleting the old news
- Creating a new page for each article, perhaps in advance and then laboriously linking that into a menu or manually created list of articles
- Investing hundreds of hours making a brand new site which looks great, but never updating the news so it looks like you’ve abandoned it
FOOTNOTE:
Pages are ordered alphabetically in the back end, but you can force the order by adding a positional number or weight. We like to leave spaces so if you start with 3 pages you would assign the weights as follows 10, 20 and 30, with 30 the heaviest and it will sink to the bottom of the list. When you add further pages you can assign the weights above, below and in between. This is useful if you have a small manual to publish, or perhaps want to create a structured sitemap of all your pages.
