Exercise 1.4: Add the Ancient Woodlands Layer
Now call up the Project Manager using the space bar. There are different ways to call up the menu bar, but by the end of this tutorial you’ll remember it!
The Components view is shown by default, with Layers tab visible. NB that each tab selection changes the size of the dialogue box, which can confuse!
Before you do anything else, click the Project Information tab, and look through the configuration options available. Give the project a title if you wish now or return to the Components pane.
The left hand pane consists of layers in the current project. Click Add layer to add the Woodland Inventory, which is stored in in the folder: Public / Map Data / Ancient Woodland Inventory.
If you cannot see the Public folder, click the + signs to expand each folder until you find Public, which is normally accessed via the desktop (Vista and XP) or under the C: drive in the Users folder (Windows 7). Using the arrow keys to navigate the Map Maker file menus can be much faster than using a mouse (up and down to scroll through the folders, left and right to expand and close folders.) Try it.
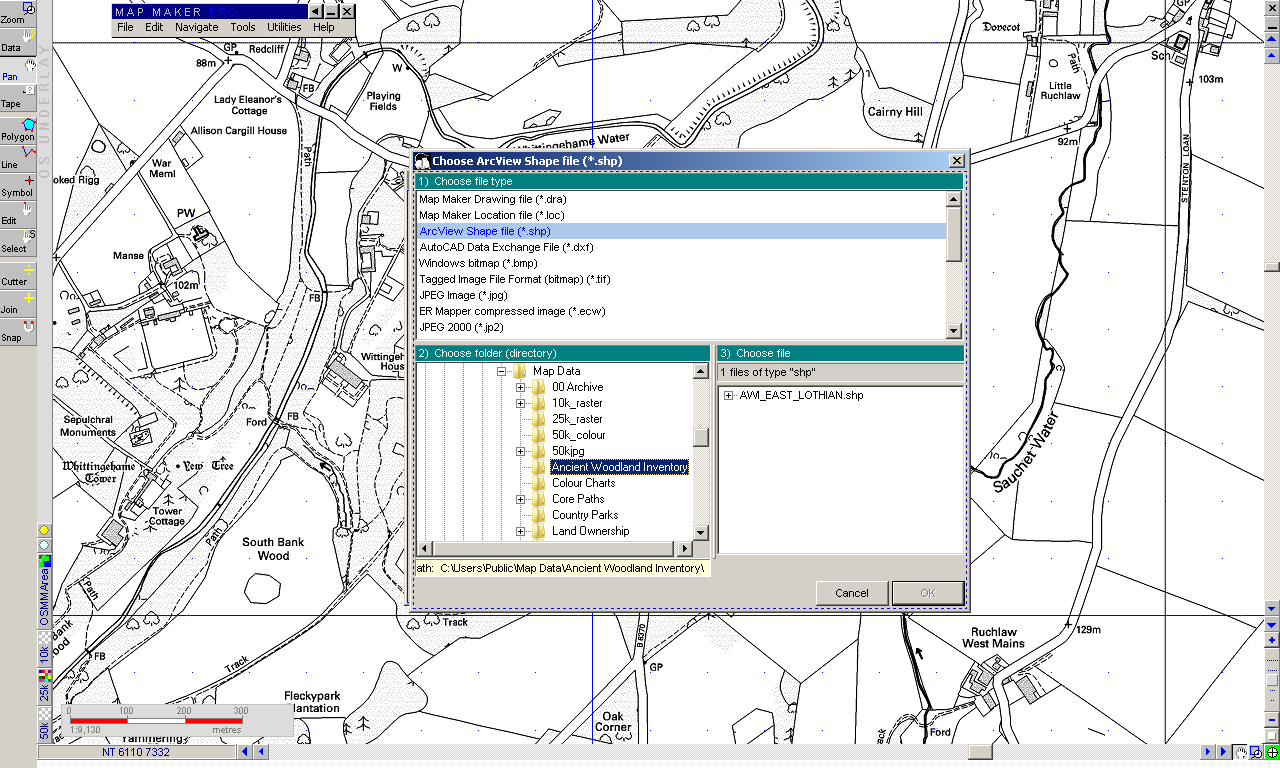
Now, if the folder appears to be empty it is because there isn’t a file of the appropriate type. In this case, there is no .dra file (the native Map Maker vector format) so we are going to look for a .shp file, by selecting ArcView Shape file.
You may need to click the selector once or twice to make sure it appears. Once the file appears and you’ve selected it, the OK button will be highlighted and you can proceed to the next stage, so click OK.
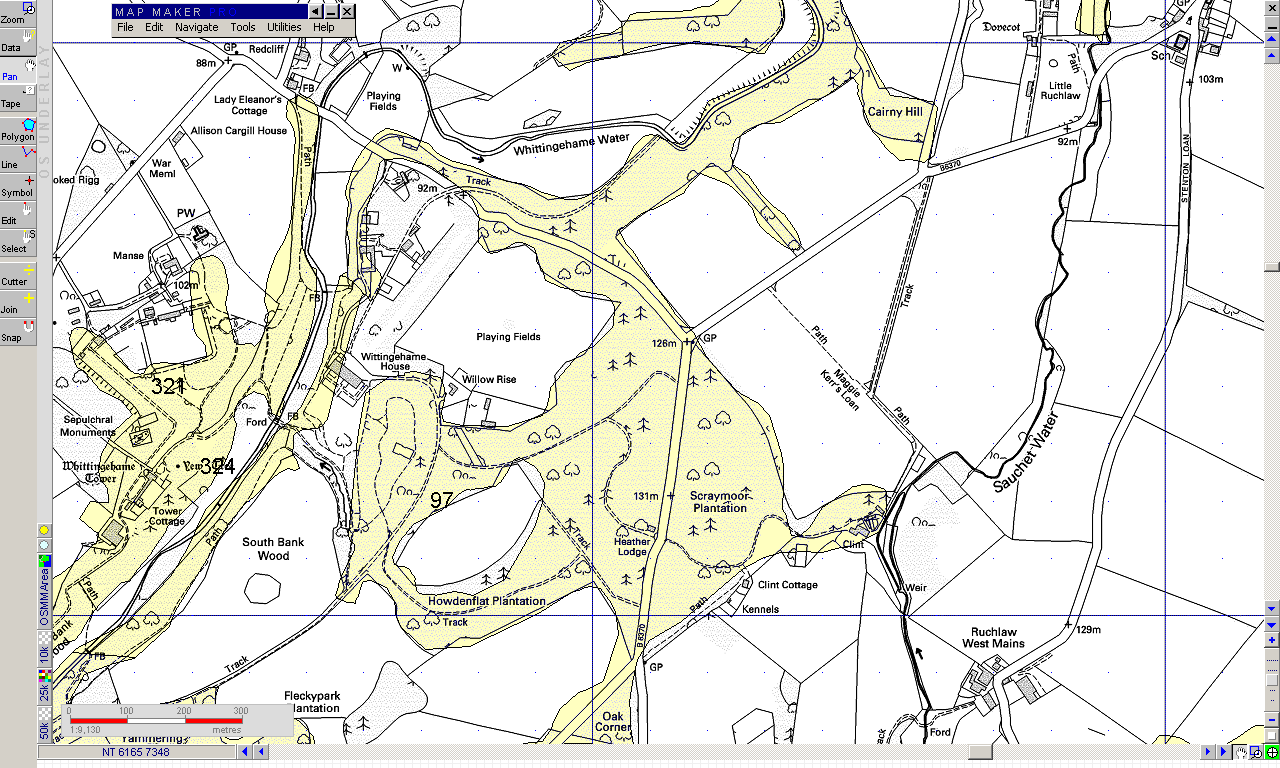
Here’s what you should see: